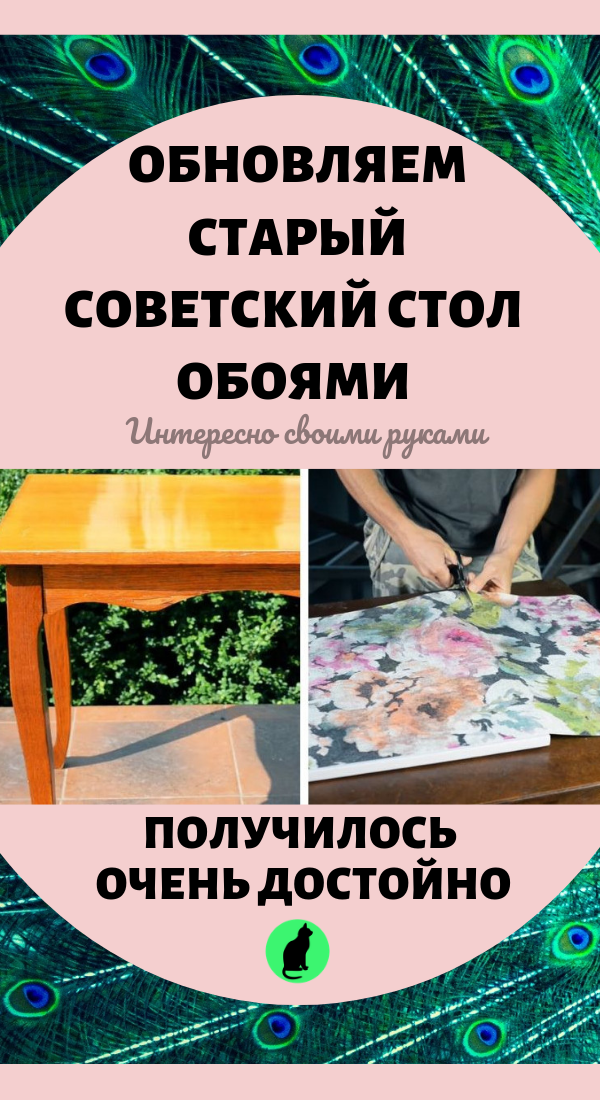
Old Soviet furniture is not in vain highly valued to this day , because it was made of high quality materials , made "for centuries". Therefore , even after years , for example , the Soviet table will be strong , stable and reliable , despite the worn surface. These minor flaws can be easily eliminated and give him the second life that he rightfully deserves! Let's find out how you can update the table in an unusual way - with the help of wallpaper.
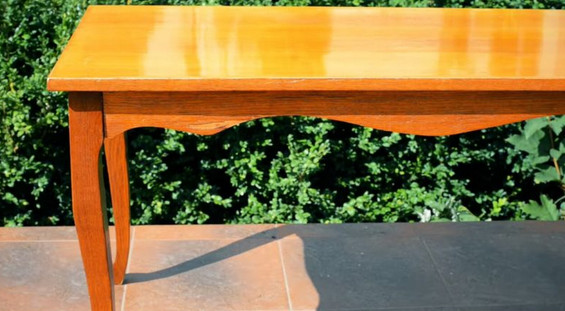
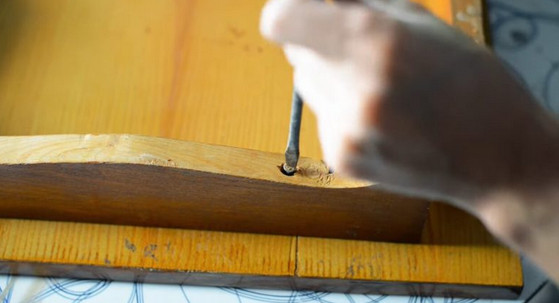
So , the first step is to disassemble the table in parts: unscrew the legs and , possibly , buy new screws.
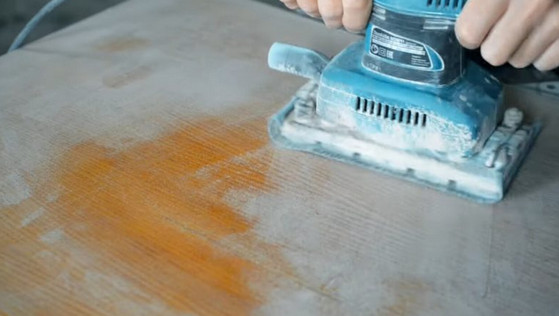
We grind the surface , removing the old varnish from the surface of the table.
We do the same with the legs: remove the top layer and grind to the tree.
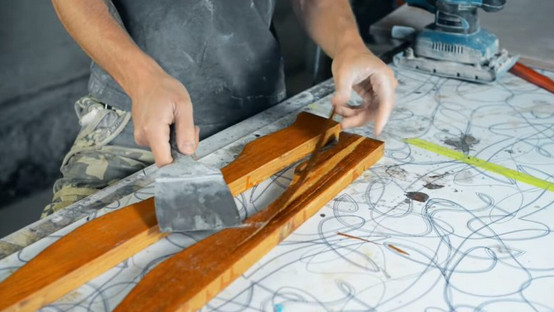
The quality of the table is excellent - this is a wonderful , ideal and budgetary basis for further creativity.
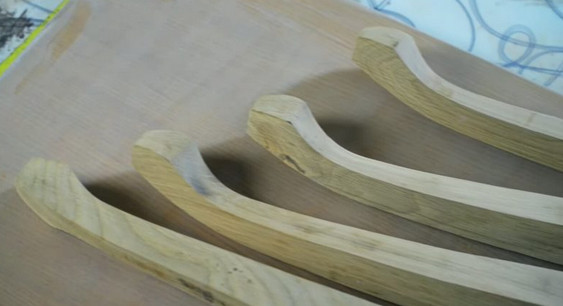
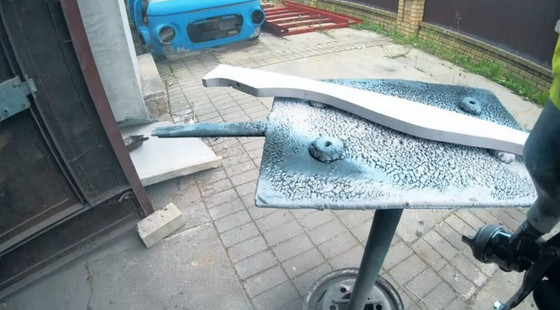
Use spray paint in your favorite color to paint all the elements of the table and let dry.
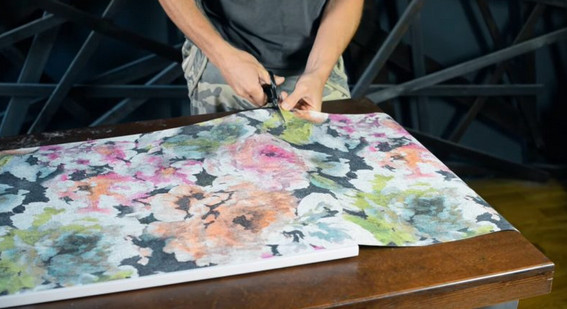
The next step is to buy wallpapers. Choose a non-woven roll. It will take about 1 meter. You can glue the wallpaper to the tabletop on polyacrylic varnish. Measure the desired length of the wallpaper , cut it off and carefully , removing bubbles , stick the wallpaper on the varnish.
Another , no less important stage is the application of epoxy resin. the edges of the countertop ( sides) with masking tape. Dilute in the right proportion , according to the instructions on the package , epoxy and fill it with a countertop , which is located on a flat surface.
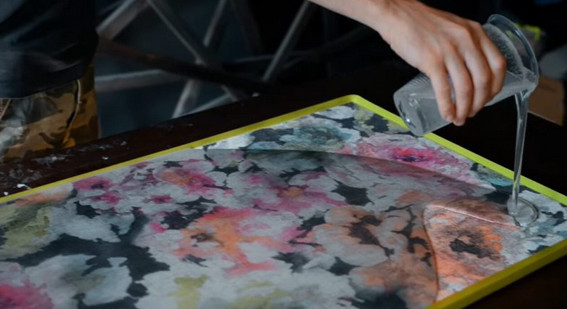 It will take about 1.5 liters of the composition. Leave the resin to harden for a couple of days.
The matter remains small: put all the parts together , put the legs back in place and enjoy the result of the work.
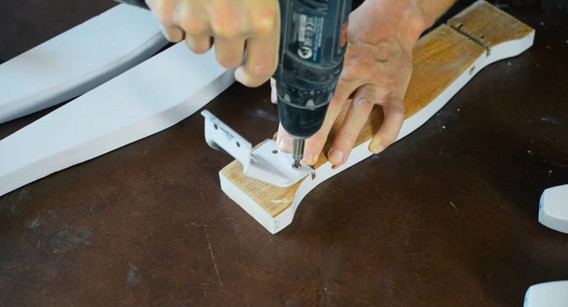
The old Soviet table has received a new and unexpected update. The result is truly worth it!
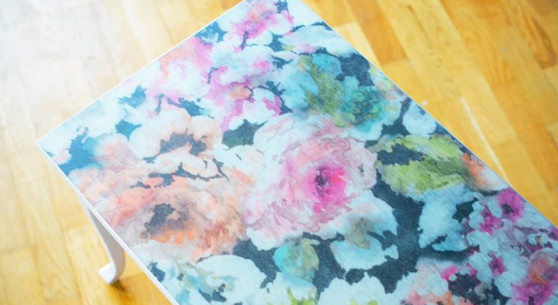
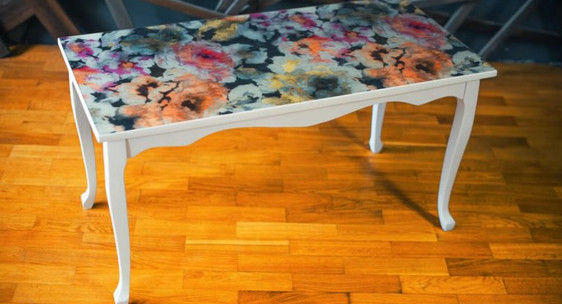
For more information on how to update an old Soviet table with wallpaper , see the video below:
Save so you don't lose
